
Week 2 - Christmas Tree Block
- Katie Done
- Oct 15, 2021
- 2 min read
It is week two already. I hope you enjoyed the Christmas bauble. Today's block is the Christmas tree. It is a nice easy one and you need just three prints. You will need to make two of these for your finished quilt but, the cutting and instructions are for one. Just double up if you are making them both at the same time. You will make plenty of flying geese in this quilt so, I am putting the more detailed instructions here. This is just one method of making them but, I will cover another way later one in the block along.
I have put together a mini video to help you.
Seam Allowance: ¼”
Unfinished size: 9½ x 15¼”
Finished size (when sewn into your quilt): 9" x 14¾
CUTTING
Width x Height
Cut one unless otherwise stated
Green:
3 - 9.5" x 5"
White:
6 - 5" Square
2 - 4¼” x 1¾"
Blue:
2" x 1¾

METHOD
1. Make three flying geese with your green rectangles and white squares. Using a fabric marker, draw a straight line from opposite corners. Use this as your stitching guide.

2. Place the squares on the edge of one side of the green and sew along the line. Trim. Press open. Repeat on the other side. You will need three of these.
*NOTE - don't get rid of the offcuts, you can use these for some of the smaller squares later on in the block along.

3. With the three remaining patches, sew the short edges together to create the trunk.
4. Sew the 5 sections together to create your tree.

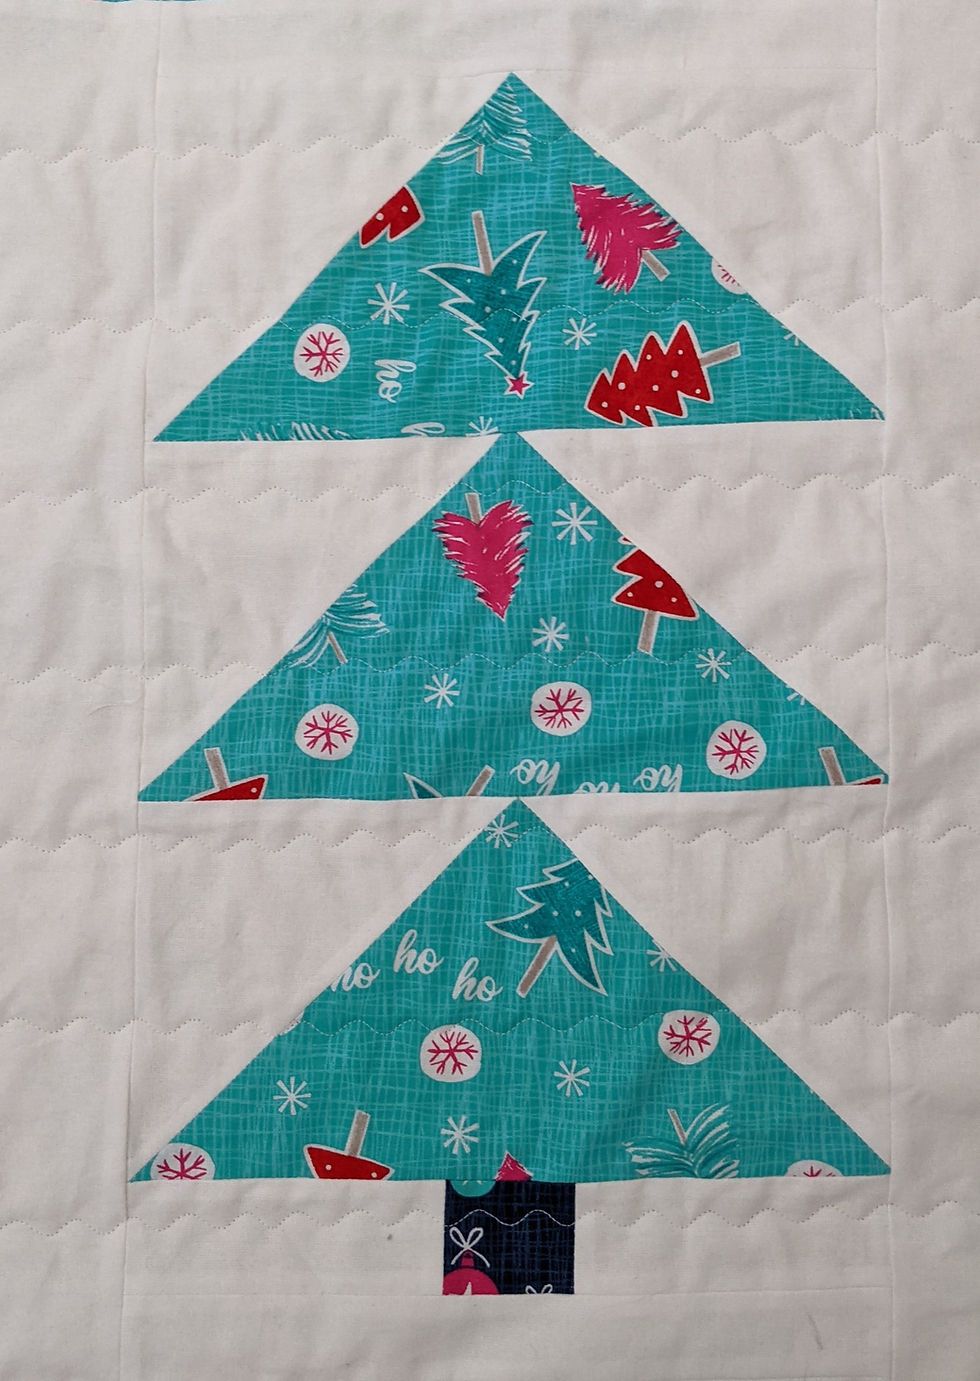
Your tree is complete! Make sure you make two of these.
Here is a close up of mine sewn up into the final quilt.
This is block number 2 in my Christmas Block Along. You can find the first block pattern here:


Comments