
Pom Pom Peacock Cushion
- Katie Done
- Mar 16, 2018
- 4 min read
This pom pom peacock cushion is a super easy and a great first time sewing project. It's even easier if you skip the pom poms and just want a simple envelope cushion cover. I did it start to finish in less than an hour.
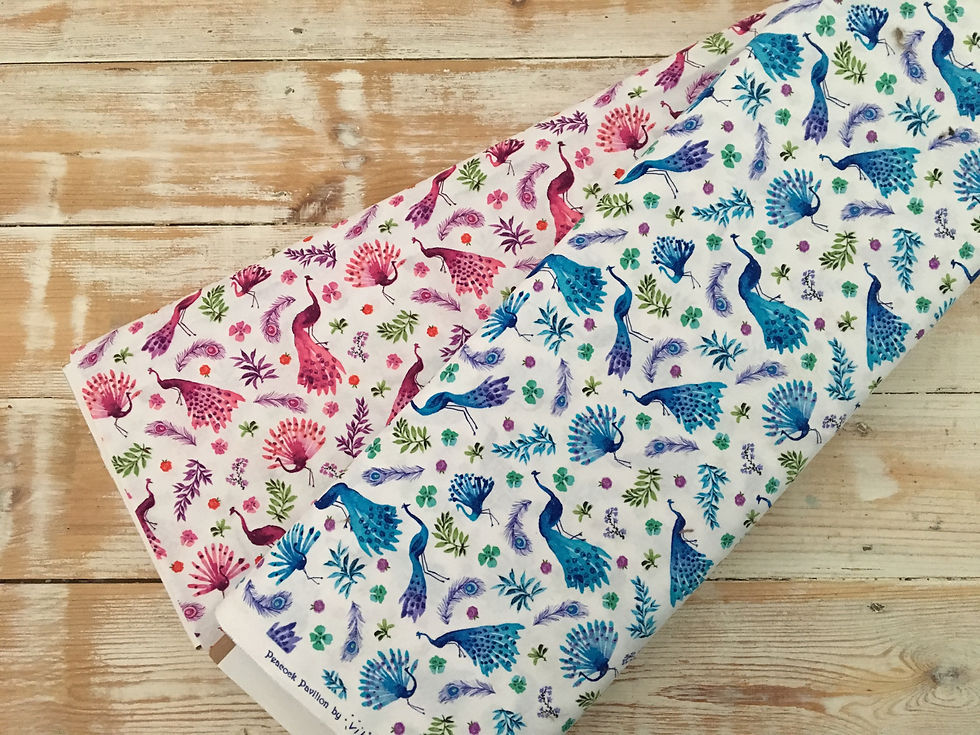
I did a poll on my Facebook page and asked if people preferred the pink or blue peacock fabric. Blue was the winner, but there was such a big response; clearly it is great in both colours. More to the point my other half's Step-Mum commented on how she liked the blue and how it would look nice in their new living room. She wants accessories that represent their village of Hibaldstow, and since the local peacock is often found outside their GP surgery, this fabric was perfect! Yea I know, it doesn't get more Lincolnshire than a village peacock.
I recently took my first trip to a craft and fabric wholesale show at the NEC and came across a fabulous ribbon and trim store. I instantly thought of this peacock fabric when I saw the pom poms and then I had to make my order up; I now I have very pretty collection of ribbon and pom poms. Oops! I did my best to match up ones that I knew would work with my fabrics so you have a one stop shop for your sewing projects.


YOU WILL NEED
Method
1. Place your cushion over your fat quarter of fabric and allow a small excess around the edge like pictured. Trim on one side and then fold your fabric in half diagonally to ensure you get a perfect square.


2. Lay your backing fabric over your fat quarter so that it is roughly 3/4 of the height. You will need two pieces this size. Put those to one side for now.
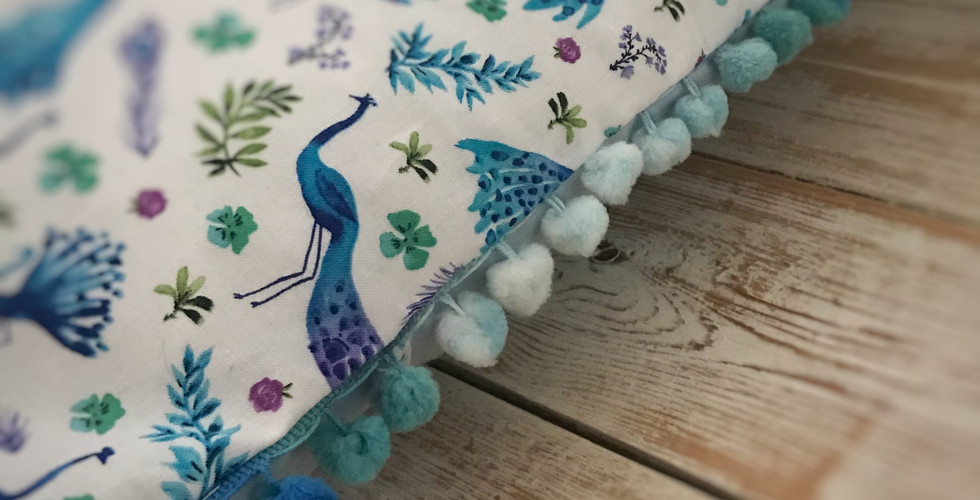
3. Place your trim with the edge hanging off the fabric, you may find it easier to trim a pom pom off at this point as I ended up needing to afterwards anyway. Make sure your pom poms are facing into the fabric and pin it to the edge of the fabric but not too close. I left about a 1cm gap as a seam allowance. I started pinning the first edge and a bit but I got bored and decided I would see if I could get away with sewing carefully instead. It was much easier and quicker without pins. I would suggest pinning the first few inches and then sewing carefully, remembering to check you are leaving an even seam allowance all the way round. You will find this much easier with a zipper foot or your needle to the left, if your machine allows it, and a longer stitch to baste it in place.

4. Put your cushion front to one side while we do the back. Here you have two options. The easy option is to fold over the long edge of your fabric by half and inch, press and then fold over again. Sew a straight stitch all the way along.

OR
I had a tiny off cut of peacock fabric which was bound for the scrap basket, probably never to be seen again. I decided to see if I could use it as a very thin binding. I placed it right side down and only had enough to leave a very small seam allowance. I ironed this out, pressed another very small seam allowance and folded it over the edge of the fabric and sewed it very close to the edge. It was fiddly but turned out great! This would be easier with a bigger bit of fabric so have a rummage in your stash and see if you have any thing you can use if you don't have enough of your main fabric. You only need to do this on one of your backing pieces as the other will be hidden inside. Use the first method for the second piece.


5. With your main pom pommed fabric facing the right way up place your backing fabric, face down (right sides together) making sure the hemmed one, if you chose to do it, goes down first. Place your second piece on top. Flip it over and pin. You will need to pin it well at this point to ensure all your pom poms stay on the inside.

6. You will need your zipper foot again to sew your front and back together. I had the front panel facing me (which is why I suggested you flipped before you pinned) so I could see the previous stitch line. You will need to ensure that you are just over your previous stitch line so it doesn't show when the cushion is the right way round. You may need a pencil or something pointy to poke the pom poms back in as you go.

7. I have learnt from experience that it is best to turn the cushion the right way round at this point to make sure you haven't missed any bits, got any holes or eaten up the pom poms into the seam. If all is good, turn it inside out again and finish off the edges. I used an over locker but a zig zag stitch on your machine will work just as well if you don't have one.

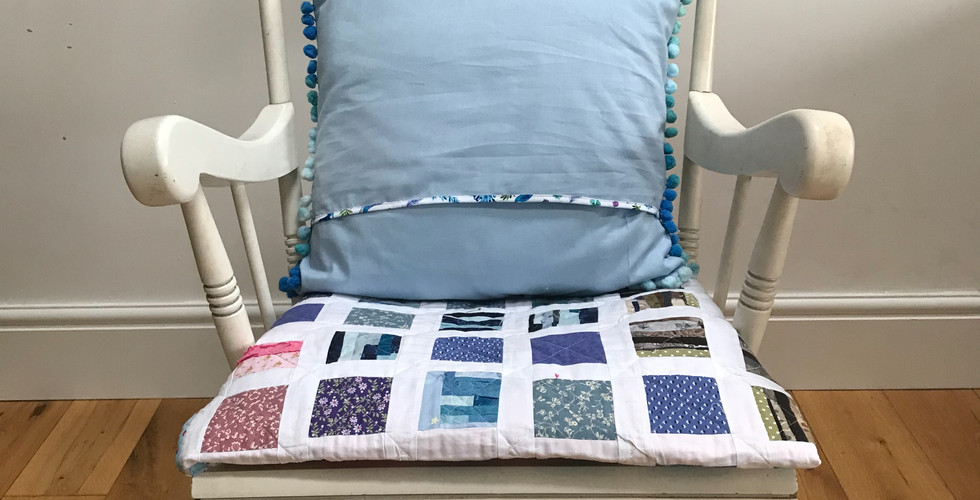
8. Turn the right way, push out your corners, insert your cushion filler and enjoy!


Comments